Our Concealed Pipeline Inspection Methods
Each method provides different information. The methods used depend on the plumbing layout, type of pipe, site conditions, access, safety and the agreed inspection scope.
01 / PHYSICAL CHECK
Physical Inspection of Accessible Plumbing
Visually inspect accessible pipes, valves, taps, flexible hoses, joints, connectors and fittings. Check nearby surfaces for dripping, corrosion, staining, dampness, peeling paint and other signs that may help identify a suspected leak route.
02 / THERMAL CAMERA
Thermal Imaging Assessment
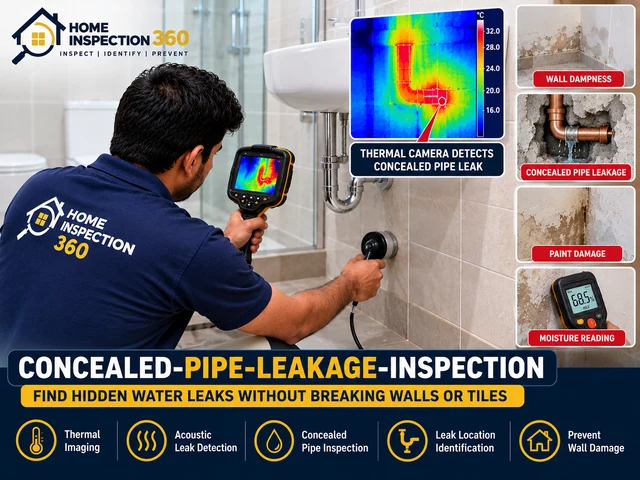
Scan relevant walls, floors and ceilings for temperature patterns that may be associated with moisture or water movement. Compare affected and nearby areas and record relevant thermal observations where useful.
03 / PRESSURE GAUGE
Water Pressure-Gauge Testing
Where technically suitable, assess a properly isolated water supply line using an appropriate pressure gauge. Monitor pressure behaviour under suitable test conditions and compare the results with other inspection findings.
04 / MOISTURE CHECK
Wall, Floor and Ceiling Moisture Checks
Compare selected surfaces with a moisture meter where appropriate. Record moisture indications around bathrooms, kitchens, utility areas, ceiling slabs and adjoining rooms to support the investigation.
05 / BATHROOM LINES
Concealed Bathroom and Toilet Pipes
Investigate suspected leaks near concealed hot and cold water supply lines, shower mixers, taps, flush tanks, washbasins and bathroom walls or floors. Drain and WC outlet defects may need separate testing.
06 / KITCHEN & UTILITY
Kitchen, Sink and Utility Pipelines
Check accessible connections and surrounding surfaces near kitchen sinks, wash areas, utility rooms, washing-machine points and other water supply connections for leakage symptoms.
07 / CEILING BELOW
Leakage Affecting the Floor Below
When access and permission are available, inspect ceiling stains, damp patches and affected walls below bathrooms, kitchens or other water-use areas. Cross-checking the source floor may require coordination with its owner or resident.
08 / WALL PIPE ROUTES
Concealed Pipes Inside Walls and Floors
Assess suspected pipe routes based on visible plumbing points, building layout and moisture symptoms. Non-invasive tools may help narrow the area, but they cannot always show the exact pipe position or defect behind finished surfaces.
09 / TANK & RISERS
Water Tank Lines and Vertical Pipe Shafts
Inspect accessible supply lines, connections and nearby surfaces around water tank feeds and vertical plumbing shafts. Shared services or inaccessible shafts require permission and safe access.
10 / RECURRING DAMP
Recurring Dampness and Unexplained Water Loss
Investigate repeated dampness, wet patches or unexplained water consumption that may be associated with a plumbing leak. Rainwater entry, drainage faults, waterproofing defects and condensation may also cause similar symptoms.
11 / APARTMENT LEAKS
Apartment and Neighbouring-Flat Leakage
Assess visible symptoms in the affected flat and, with permission, relevant areas in the suspected source flat or common service areas. Shared pipeline responsibility and access must be coordinated with building management where required.
12 / REPORT
Inspection Findings and Recommendations
Document accessible areas checked, photographs, relevant readings and thermal observations where taken, suspected leakage locations, access limitations and recommendations for further plumbing tests or repair.